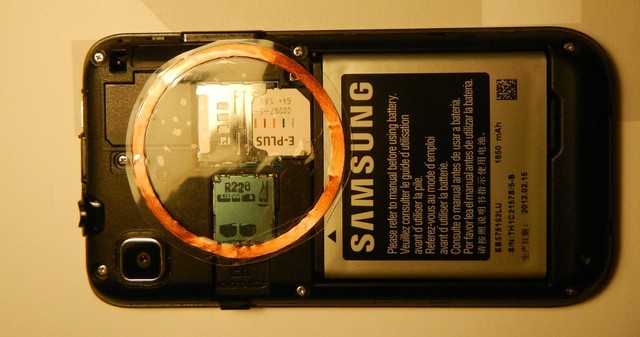
At work we use RFID cards to get through the doors. I don't like to carry it hanging from the neck. I wanted to put the rfid card in my phone, which is the only artifact (beside my wristwatch) that I carry with me all the time.
One problem: the card is too thick to fit inside the phone. But it's mostly made of plastic, so my idea was to somehow extract the chip and antenna from the card.
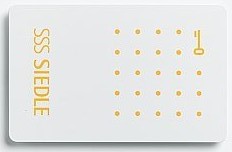
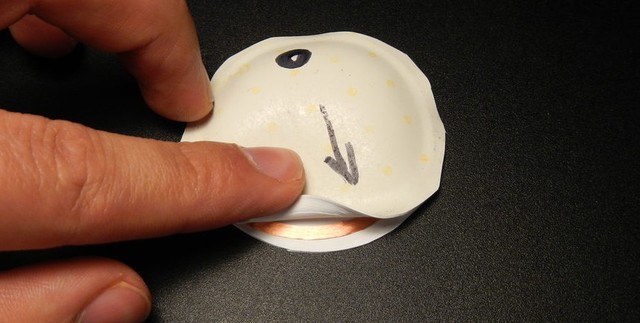
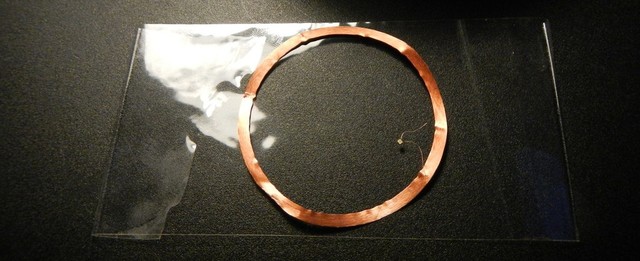
If you have a Siedle RFID card, which looks like the picture, and want do do the same keep reading:
Researching I found almost the same solution I wanted by Adafruits.
The idea is to 'dissolve' the plastic and extract the internals. Sound much easier than it actually is and it depends a lot from the type of card you are using.
After some failed attempts (3 actually), I decided to document the process to help someone with the same kind of card. Here we go:
1. Dissolve the plastic
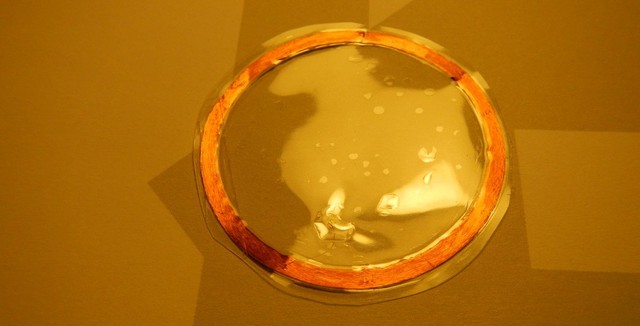
The solvent used was acetone. You can find it in cheap nail lacquer removers. It takes a lot of time. I got usable results after 10-12 hours. The best is to leave it covered, to prevent flooding your entire home with acetone and also reduce the evaporation.
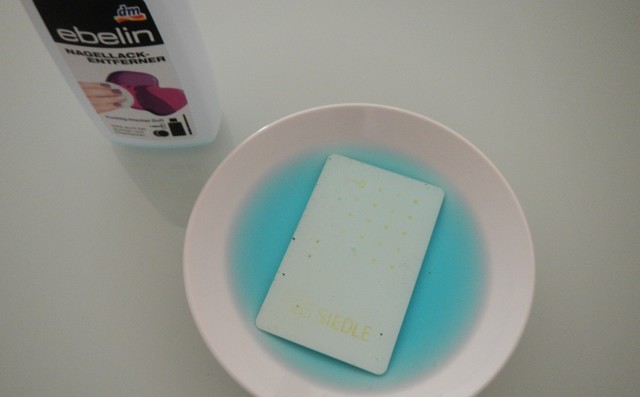
I covered it with a glass (don't use plastic!) bowl, and leave it the whole night working.

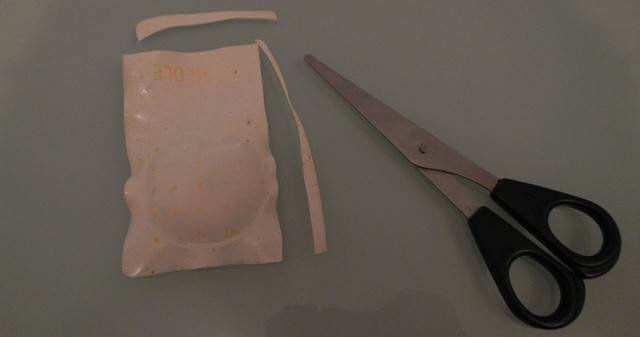
The plastic is not rigid anymore. It looks more like gum. You can easily distinguish the antenna ring on the card.
2. Extract the chip
Using scissors cut the circle formed by the antenna. Don't worry, there are nothing useful outside the ring. Just be careful not to cut the ring. It's better to leave some room for errors and then retouch it later in small increments.
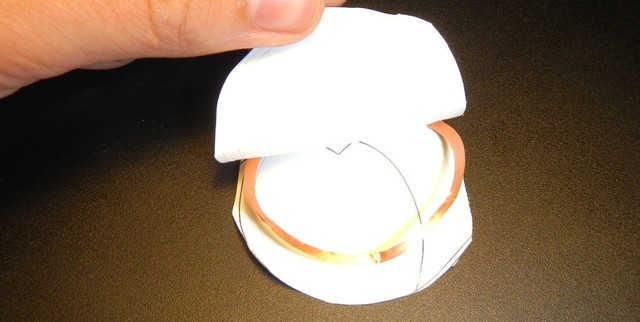
The card is like a sandwich, with the rfid circuit in the middle. What you want to do is to get rid of the 'bread'.
Using small increments, cut around the circle formed by the antenna until you find a spot where both sides of the card aren't stick to each other. From that sort of bubble you want to start to pull both sides in opposite directions.
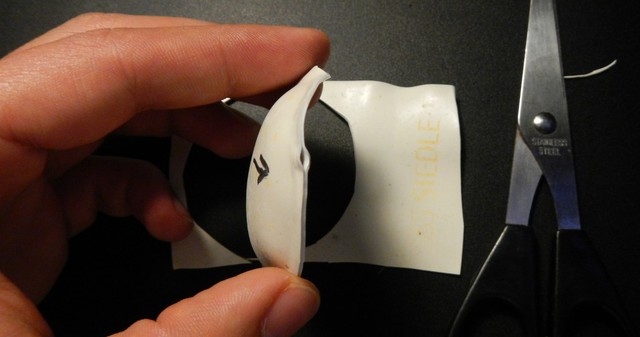
It's better to start with the opposite side where the chip resides, to leave the delicate part to the end, when you already have revealed most of the antenna's surface.
I've marked with a circle where the chip approximately resides and with an arrow the best place (in my opinion) to start pulling the card aside.

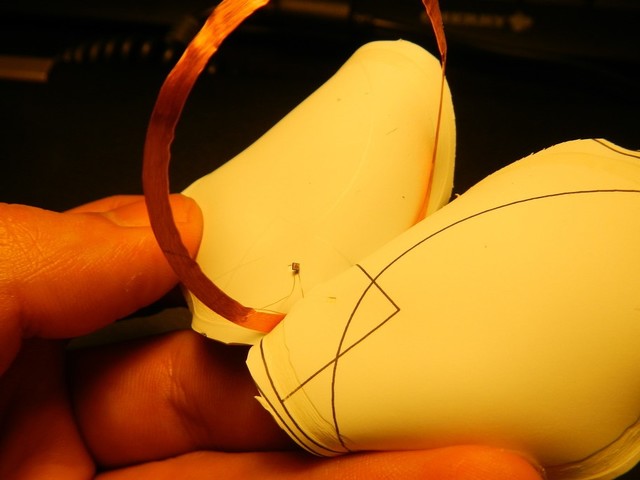
Start pulling slowly and very carefully ...
Now comes the tricky part. The chip is attached to the antenna with very very thin wires. If you brake them, you're done. So be very careful.
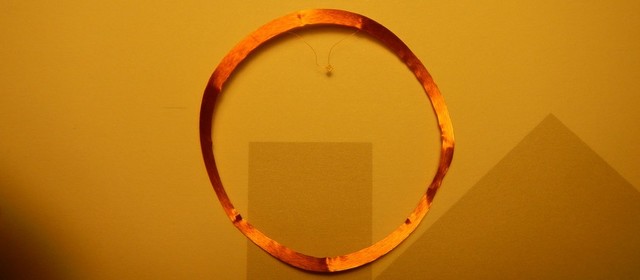
Mission accomplished!
3. Protect it
Now that you hopefully managed to get rid of the plastic without ripping the chip from the antenna apart, it's time to protect this fragile device.
I used simple Tesa tape, to sandwich it. Works like a charm.
Now with a little bit of love an awesome RFID device:
Now enjoy the magic of opening the doors only with your phone.
Author: Maximiliano Padulo
Category: hacks